
8 steps to completing your college applications

College applications can be frustrating for everyone. Parents want to give students room to get the work done on their own, but they also want to make sure the work is done well. Students want independence, but they also feel lost because they’ve never tackled something this big on their own before.
If your student is procrastinating about their college applications, it’s not because they don’t want to go to college. They’re not going to spend the rest of their lives on your couch. The problem is that with so many things to do it’s tough to know where to start.
Eat the frog first
This is old advice I’ve taken from my days as a classroom teacher. When you have a list of things you have to do, tackle the least pleasant one first. It might seem counterintuitive. If you have a plate full of delicious food and this one thing you don’t want to eat, eat it first. You’ll get to enjoy the rest of the food so much more than if you save the unpleasant part for last.
We can debate the unpleasant nature of eating a frog. I get that plenty of places find them a delicacy, but I’m in Texas, the land of barbecue and TexMex. Frog legs do not show up on my menu. That seems like a completely separate blog post. For college applications, it’s a mindset that works well for students. Tackle the thing you’re dreading the most first.
Unfortunately for college admissions (and the college applicant), much of what students are asked to do will be “eating the frog”. They need to research schools, create an academic resume, contact references for letters of recommendation (LORs), and write essays. And that’s just the standard requests. Depending on their majors or schools, they may be asked to submit a portfolio or to do an interview.
So where do they start?
At the risk of completely pull back the curtain on what I do, I’m going to share with you the process we walk students through in our College App Camp. In 12 hours of classroom time we’re able to make sure that students have the central part of their Common App ready to go. That includes an academic resume, cover letters for LORs, a spreadsheet to organize their applications, and at least 2 essays.
We’ve crafted this process over the last 6 years and worked with over 1000 students.
Here are the steps.
- Create the academic resume
- Craft a cover letter for LORs
- Build a college list
- Organize a spreadsheet for your applications
- Set up the application accounts
- Write the essays
- Give it 2 weeks
- Hit submit and forget
1. Create the academic resume
Starting with the academic resume gives the student a natural way to reflect on what they’ve done during their last 3 years of high school. It’s subtle and effective. Most students I meet with don’t have a clear idea of what they want to do for the rest of their lives. By creating their academic resume, they’re going to go over the classes, community service, and extracurricular activities they’ve been involved in most.
But like so much in this process, it can be difficult to start. I created an academic resume worksheet to guide students through getting the information. Click that link and you can get a copy emailed to you as well as access to our resume template.
2. Craft a cover letter for LORs
In most cases, students will not be including the academic resume as a part of the application. Instead, it provides a resource for people writing letters of recommendation. The academic resume gives them specific examples of what the student has accomplished that they can reference.
It’s important to think about LORs from the perspective of a core subject teacher. Last year they taught AP Lang & Comp to 150 Juniors, almost all of whom are college bound. This Fall, 100 or so of last year’s students are going to ask for LORs. All of those letters will need to be submitted by around the same deadlines. They’ll also need to be written outside of school hours because that teacher is currently busy teaching a new group of 150 Juniors.
It’s a demanding task, which is why so often the LOR becomes the “great kid, great attitude, works hard” sort of generic letter. Crafting a solid cover letter helps the teacher with the content for the LOR. You can check out this template we provide in the College App Camp. A good cover letter lets the teacher know the deadlines the student is facing as well as the reasons the student asked the teacher.
3. Build a college list
This task may seem out of place in the process, but we include it as the third step because we want students to do some reflection before they start building their list.
A good list probably contains 7-10 schools. I’ve stopped talking about colleges in terms of reach, target, and safety. As classifications, “reach” and “target” might be accurate, but “safety” has gotten such a negative connotation that is undeserved. We have over 4000 public and non-profit colleges and universities in this country. With some research, students can build a list where every school is a good fit. Build a list of 2-3 schools with a high likelihood of acceptance, 3-4 schools with a moderate likelihood, and 2-3 low likelihood schools.
And know that the only reason a school should be “low likelihood” is because of that school’s acceptance rate, not the student’s profile. For a school with an acceptance rate less than 20%, every student they accept probably has 4 carbon copies of them who got denied.
Tools for research
If you’re lucky enough to be at a school that has a program like Naviance, it’s a great place to start. They have some tools that can help with the research. If you’re not, or maybe even if you are, you can use College Navigator to get started.
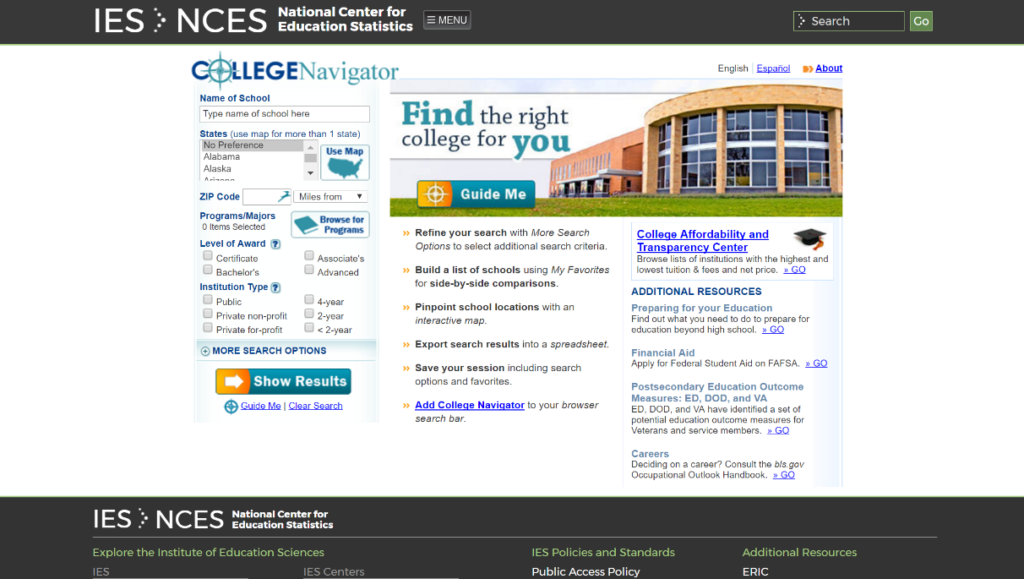
College Navigator is one of the websites the Department of Education uses to curate the information that schools have to submit to the federal government to qualify for federal loans. It will have up-to-date information, AND you don’t have to create an account to access the information. On College Navigator, you can search by geographic regions, majors, public or private schools, and a range of other criteria.
My typical advice for students in building a list is to find schools where they can compete to be in the top third of students at that school. Doing so is going to naturally give them more access to research, internship, and leadership opportunities. The problem can be figuring that out. Unfortunately, we don’t have a central database to compare GPAs, so the best place to start is with SAT or ACT scores.
The range for test scores can be found under the “Admissions” drop down on a school’s page. While it’s true that many schools now have a “test optional” admissions process, test scores will still give a student an idea as to how they will compare academically to other students at that school. Find schools where the student’s test scores are above the likely 50th percentile school. Remember, college isn’t about getting accepted. It’s about what you do when you’re there. Being in that top half of students academically from the start will allow the student more opportunity later on.
4. Organize a spreadsheet for applications
This is probably the easiest step. The spreadsheet can be as simple or as complex as you’d like. I’ve seen spreadsheets where students went wild with school-themed color coding and mascots. They had fun with the process.
At a minimum, you’re going to want columns with the school’s name (you’re welcome for that tip), the application you’ll use (Common App, ApplyTexas, independent, etc.), the essays you’ll need to complete, and the dates the application will be due. You can also use the spreadsheet to track your research and rate the likelihood of acceptance as high, moderate, or low. Other helpful categories include target test scores, cost of attendance, average net price, etc. You can find all of that information on College Navigator.
5. Set up your application accounts
Now that you know which schools to apply to, it’s time to set up your accounts. This part of the process is largely administrative. The most common account, reflected in the name, is The Common App. At the time of this writing, over 900 schools allow students to apply using The Common App and students can apply to up to 20 schools on that platform. Of the options, it is probably the simplest to use overall for both the students and their references. Many of the students we work with will also use ApplyTexas because The University of Texas and Texas A&M are popular with our clients. You’ll also find that some schools like Oklahoma State, Arkansas, and Alabama have their own independent applications.
You’ll need to set up your application accounts in order to know which essay prompts (and how many essays) you’re going to need to write.
6. Write the essays
Here’s the biggest frog. It could have been earlier in the process because most students are going to use The Common App, and The Common App has one central essay that every student will need to write. That one essay can often be repurposed for other prompts as well as long as it’s not telling the exact same story to the school. The essay section is the only opportunity the student gets to speak for themselves, and it’s often the section where they get the worst advice.
While this is probably the biggest frog in the process, it also belongs here at this point in the process. Once they’ve done the academic resume, students have a better idea of what to write about. Likewise, once they’ve built their list, they know which prompts they’ll have to write to.
Types of essays
The essays have a lot of different flavors. There’s the personal statement which will have a max word count of 500 or 650 words depending on the platform. It’s an essay format students aren’t typically familiar with. They know the five-paragraph essay (blech!) and maybe how to write for AP Lang & Comp. Neither of those formats work well for this essay. The personal statement needs to be a combination of narrative and reflective writing. The student should try to tell a story relevant to the prompt and reflect on what they learned from that experience.
Some schools ask for “personal insight” essays instead. These tend to be shorter, 350 max word count essays. The most common examples of these are the short answer essays for the University of California system and the supplemental essay for the University of Texas – Austin. These are much more straightforward essays than the personal statement.
Another common essay at highly selective schools is the “Why us?” essay. It’s typically a 100-150 max word count response. Among a number of things, the school is trying to gauge what the student knows about the programs they’ll be a part of. Too often students drift into what they’ve read in the promotional literature. Schools want to know how a student plans to benefit from their education and how the school will benefit from the student attending.
7. Give it 2 weeks
Professional writers will tell you that 75% of writing is editing. My creative writing professor in college talked about his process for tracking his work to give a poem or short story 6 months between editing sessions.
If you’ve ever gotten an essay back in English with an error marked that you should have caught in editing, you know why. You’ve been working hard on writing the essays, and your brain knows what you want it to sound like. In many cases, your brain will make the essay sound that way no matter how closely you read it. Having someone else edit for errors can help, but it’s a tough ask for many students. (There are probably errors in this blog post that I won’t catch for exactly the same reason.)
The student needs some time between when they think they’ve finished writing everything and a final edit, but 6 months isn’t practical. In addition, creating the space of time takes some prior planning. If you’ve given yourself a deadline of October 1st for a particular college, you need to have everything done by mid-September to give to let the application sit. By giving yourself at least 2 weeks before coming back to the essay, your brain will at least forget some of the content and approach the material as somewhat unfamiliar. You can slow down and read through it to make sure that the essay reads as closely to what you’re hoping as possible.
8. Hit submit and forget
The final step probably comes with the most anxiety. Once you’ve gotten everything the way you want it to the best of your ability, hit the submit button and stop worrying about the process. You researched schools to make sure you’re a good fit for what they’re looking for, wrote essays that capture who you are, and requested LORs from teachers who will help you stand up and cast a shadow. You’ve done the things you can control. You might need to track that other documents like transcripts, test scores, and LORs are being submitted, but you’ve done what you can. It’s time to sit back and enjoy the outcomes.
That’s a lot to get done. This blog post alone is a over 2000 words related to the process. If you’d like help getting the bulk of this work done, you can join our College App Camp. We have online and onsite options available. Last summer 1/3 of the students we worked with attended online and completed everything that our onsite students did. In 4 days you’ll have the hardest parts of the college application out of the way.